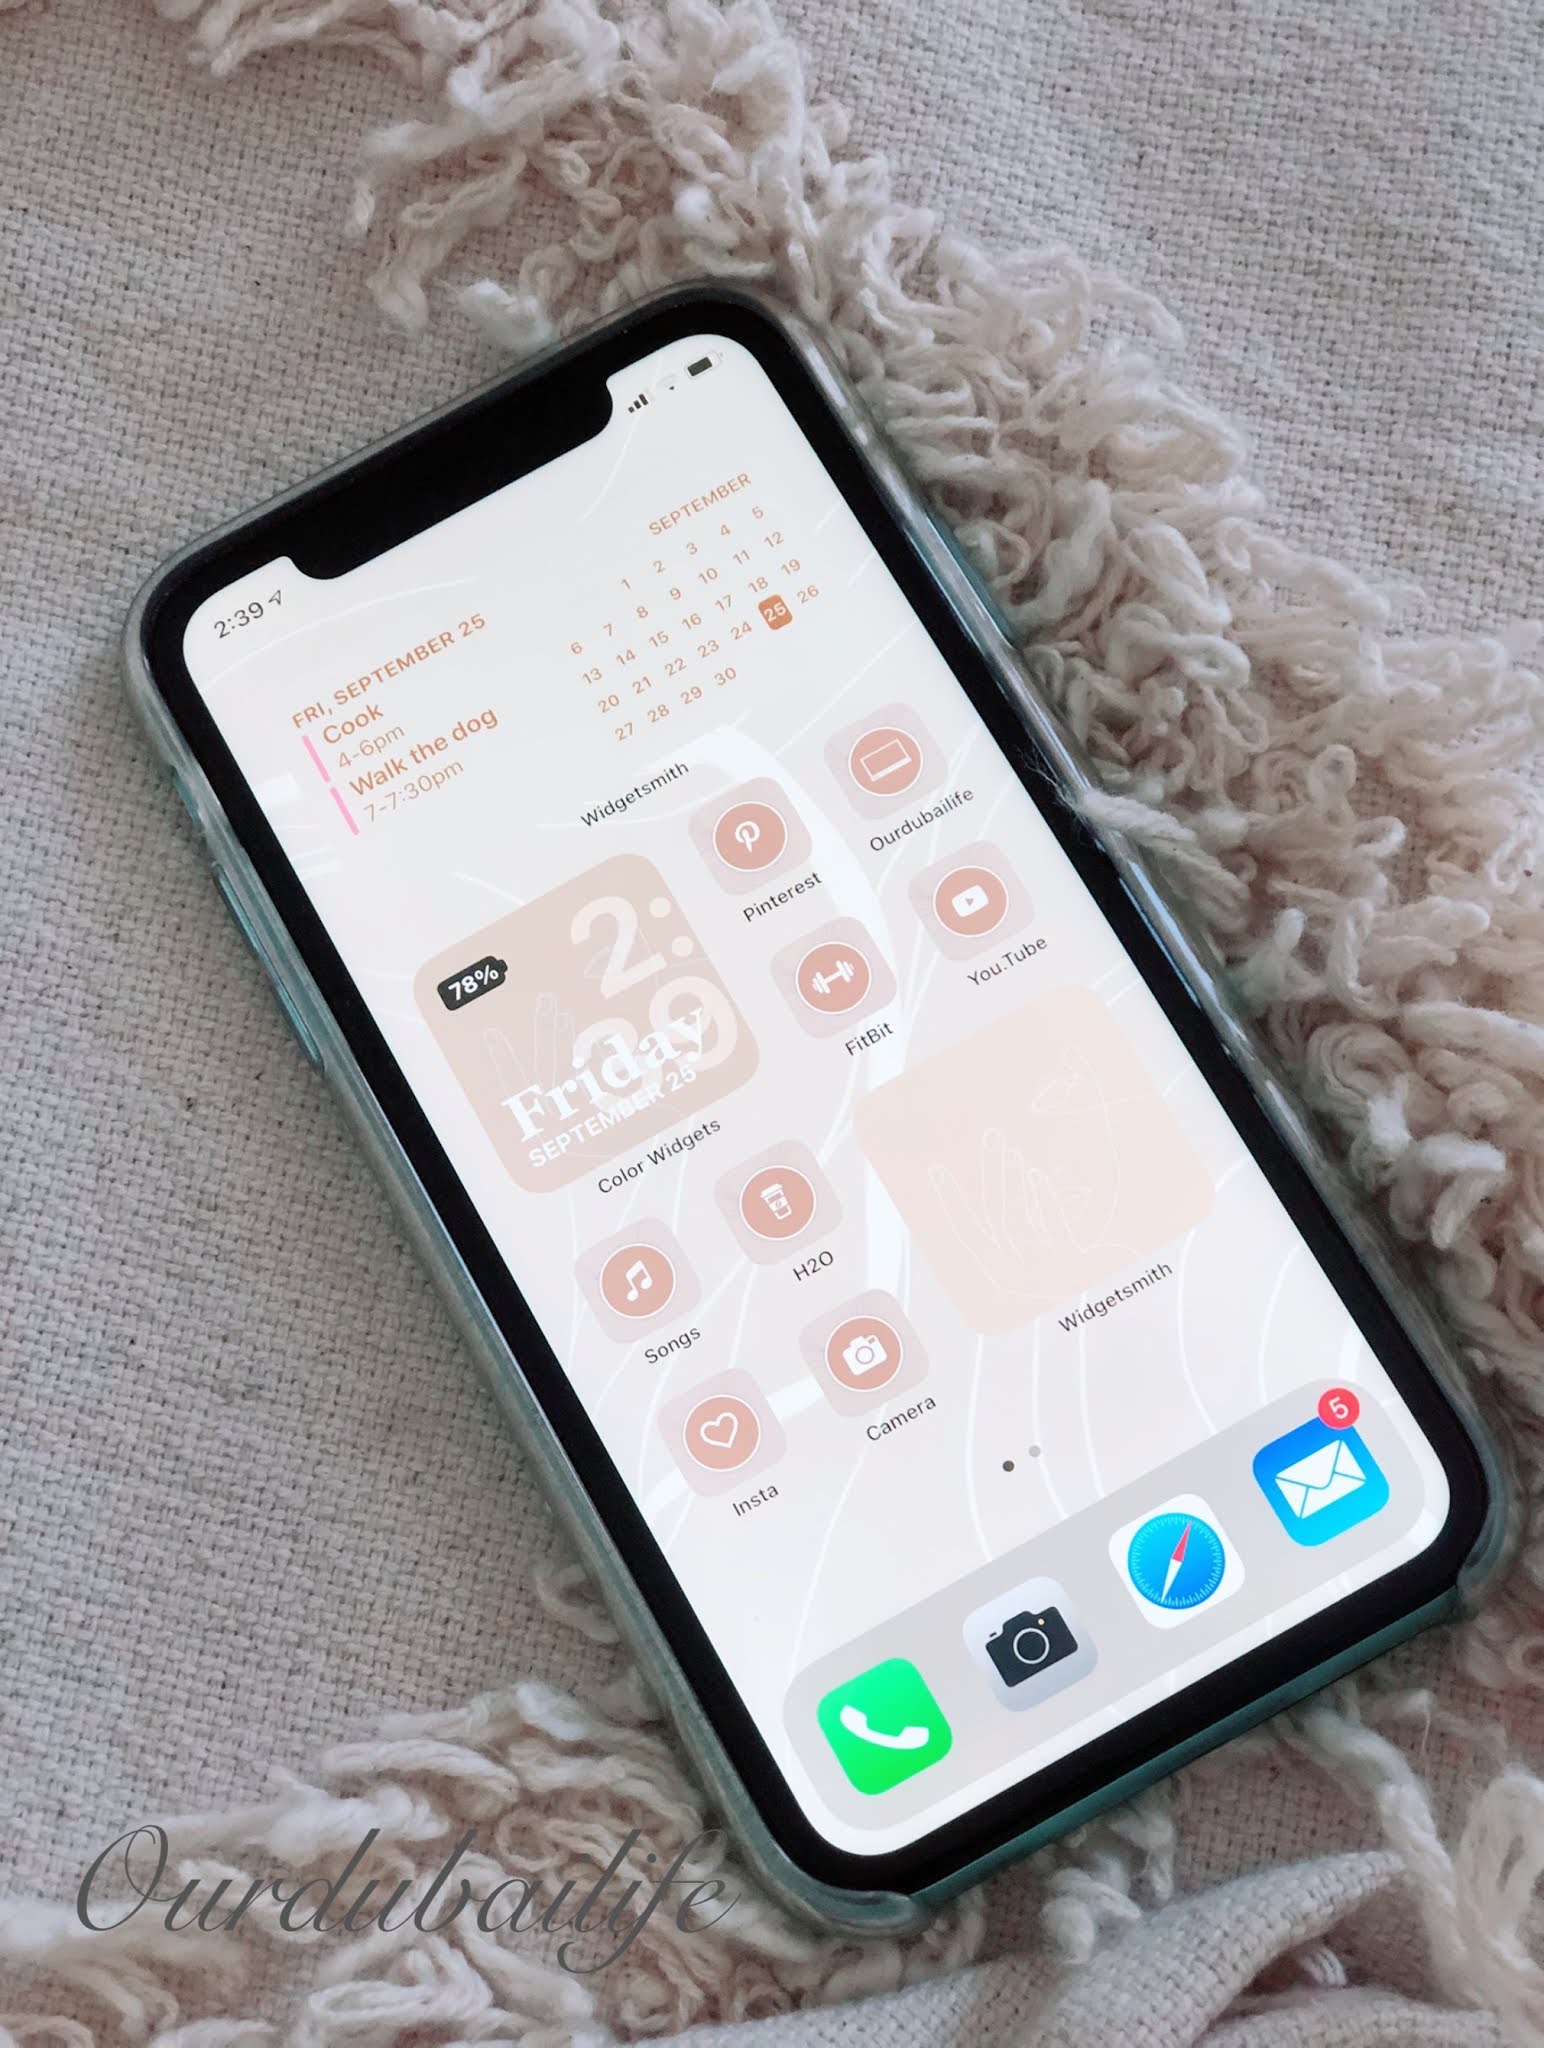
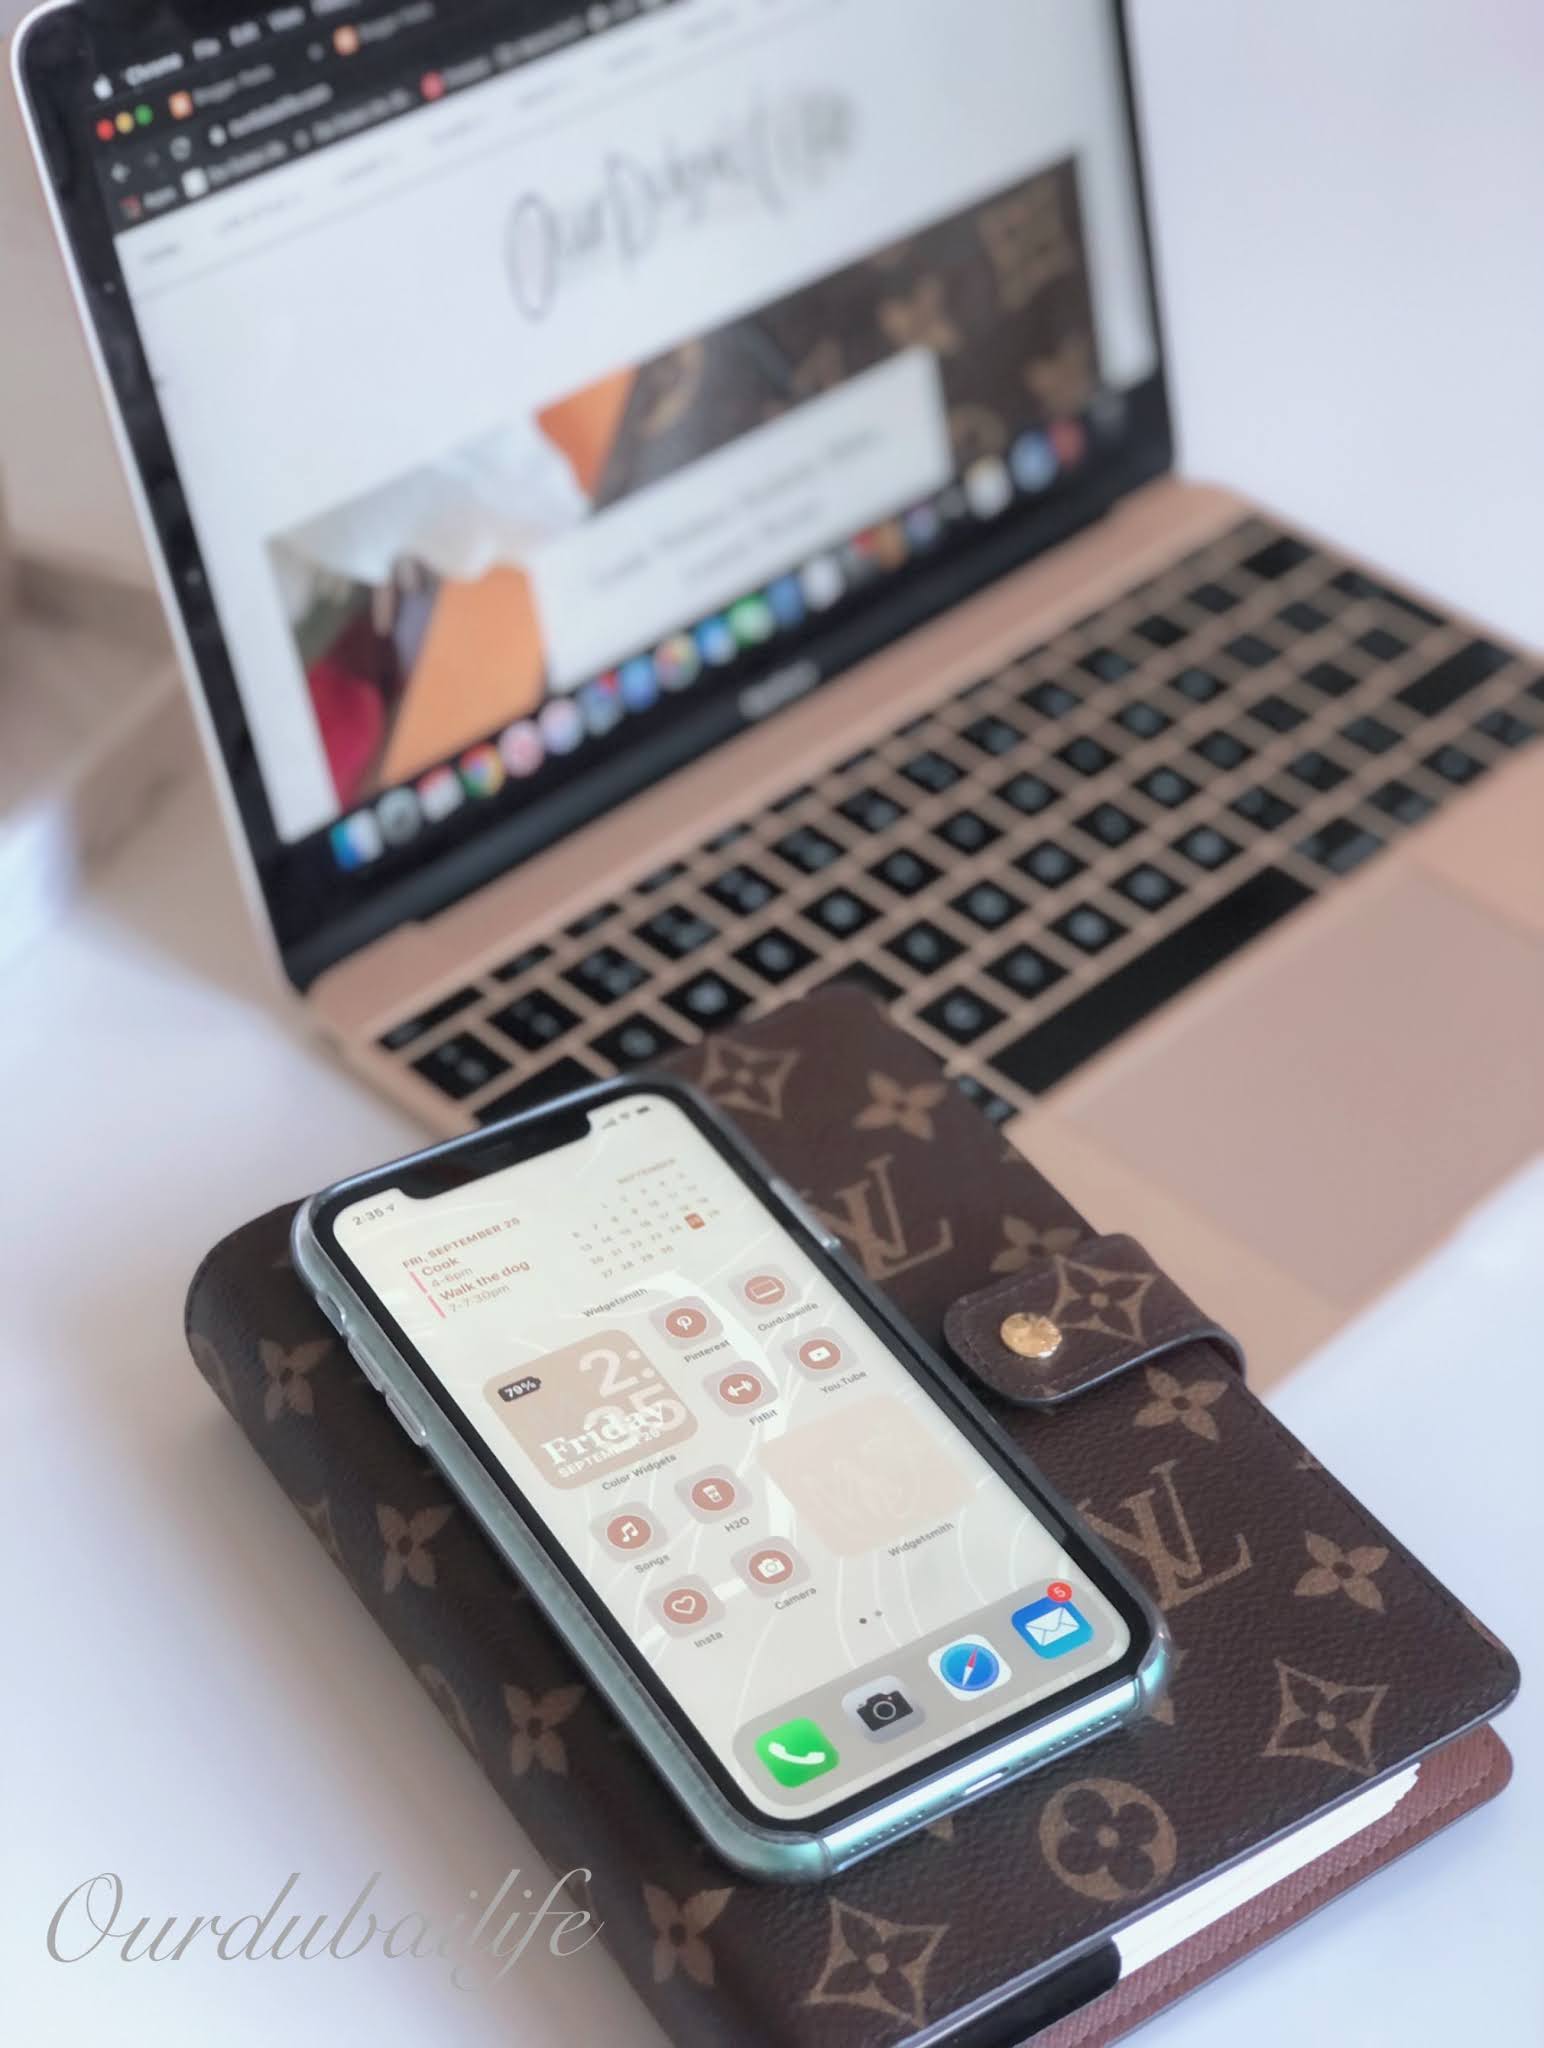
One of the biggest trends to hit the planet right now is the iOS 14 update
which allows you to create a perfect home screen with custom widgets that
turns your once bland iPhone home-screen into an aesthetically pleasing
PINTEREST mood board.
I suggest firstly choosing a style/theme for your homepage, for example, do you want your iPhone to match with your website or Instagram theme or with a favourite room in your house? Maybe your inspo is based on a colour scheme - Do you prefer Neutral / Beige tones or are on the current NEON trend? Whatever your style, once you have the theme in mind your good to go!
I started by creating an Inspo Pinterest board & saving all my resources
into the one location and pinned Backgrounds / Art to Quotes, all matching
my chosen theme, so had lots of choices when it comes to finalising the
design.

I'm pretty obsessed with this update and spent a good few hours planning
and designing a neutral-toned aesthetic and wanted to share what I'd learnt,
with an easy step by step overview of the process, to get you quickly up and
running with making your own -
The Nitty Gritty -
Sofware you'll need
IOS version 14 or later
Patience!
Before you start -
IOS version 14 has an excellent app library (enter this by scrolling your
home screen to the right until it opens) this allows you to remove apps from
your home screen and have them all in one place (finally tidying up your
phone freeing it from a million apps!).
If you tap and hold in a space on your home screen, the apps will start to
shake, and you can then delete the App (yes, press the x!) You'll be asked
if you want to delete or 'send to your library' - If you choose to 'send to
library' it won't delete the App but instead stores it away in a section
which is excellent and helps you spring clean your iPhone.
Step 1: Choosing a background
As above, search the web for INSPO - Pinterest, Instagram were, in my opinion, the best places to find inspirational designs and find a perfect sleek background. The best advice I have is keeping it simple, stick to one colour and don't make it too busy. If you do go for a pattern or similar,
try to keep it to two colours only and with limited use of the second colour. For your apps/widgets, you'll then want to choose an accent colour.
Without going into colour theory in too much detail, take a look at a colour wheel, and you choose a colour that is opposite to the selected colour or,
if a third colour, make a triangle on the colour wheel to pick your pallet!
Here is an excellent
video
to watch on this topic (I'm no professional!).
Step 2: Apps you'll need
You don't have to get all of these; however, these are the apps that I used to create my home screen. Please note that there are some paid options on these apps. This tutorial is not a paid advertisement for any of the apps mentioned and only what I found useful in achieving my desired theme.
The following App's are available for download from the App store:
Shortcuts - This handy little App creates a 'short cut' which you can give a
picture to on your home page. You're giving the illusion that you have replaced the icon of the App - this is not the case. The only downside is that the 'shortcuts' App will open for a brief second before opening the link. For some, this will be a fair trade-off for a striking home screen -
for the OCD people, this could be a step too far and bear in mind that as this is a shortcut some of the notification may not appear.
Widgetsmith - This useful App is the best currently available in the IOS14 widget game and allows you to create a calendar, clock face, tidal graph, star chart, moon phase tracker and a picture box for a chosen picture and a few more. You can choose the size, colour and font! Not too bad for a free app,
and we will be using this to create a useful widget to use on a day to day basis. With all the attention this App is getting, I'm sure the creators will expand on the options shortly.
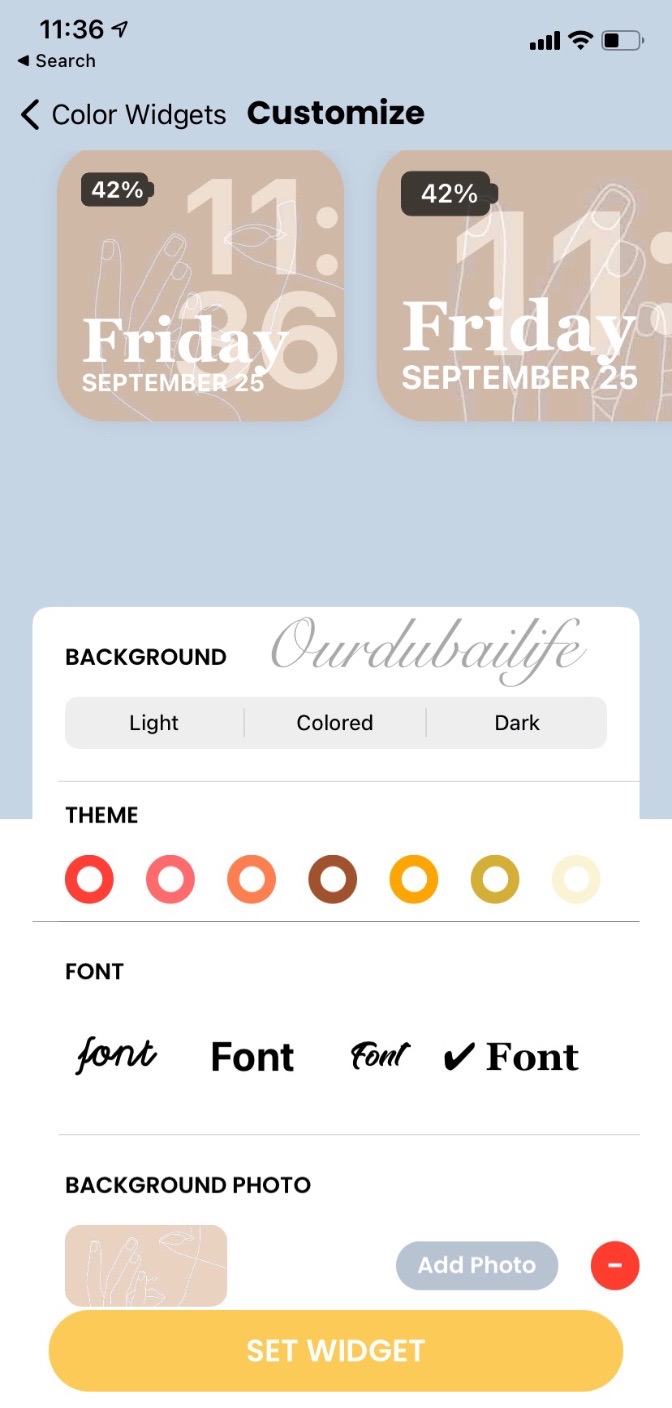
Colour Widgets - So ignore the incorrect (OK, American) spelling of colour lol. This App is similar to Widgetsmith but currently limited to a clock widget. The best feature of this App is the option of allowing you to place any chosen image behind their clock face, this adds flair and helps personalise your home page further! As its currently limited to a clock widget, I'm sure with all of the buzz surrounding the new iPhone update, the creators will add more features soon but in the meantime its a useful free app!
Step 3: Creating a widget using Widgetsmith
It's effortless, to get started, open Widgetsmith and you'll be asked if
you want to create a small, medium or large widget.
I went with a mix or medium & small-sized apps as best fit with my
theme Medium size for the calendar/to-do list at the top and small for the
inspo image I placed as a decoration piece;
Once you have chosen your background, try to stick within that aesthetic.
Tap add widget, click the default widget to be presented with the style, location, font, tint colour, background colour and border colour options. Go through these to create a device that fits your aesthetic perfectly (or just copy mine!). Note, you can choose a photo option here. It will create an image only widget, which is purely for decoration which looks great on the screen. I use this box for quotes or a picture that summarises my theme.
Tap add widget, click the default widget to be presented with the style, location, font, tint colour, background colour and border colour options. Go through these to create a device that fits your aesthetic perfectly (or just copy mine!). Note, you can choose a photo option here. It will create an image only widget, which is purely for decoration which looks great on the screen. I use this box for quotes or a picture that summarises my theme.
Note: Some widgets do have a lock on them, and will prompt you to sign-up
for the premium version of Widgetsmith if you want to use any paid options.
Developers work hard designing these apps, so please chose the options that best suits you. (I am not affiliated/paid or sponsored, just wanted to note
the different options available on the App)
Once you have created your widget press and hold your home screen to make the apps do the wobble dance, then at the top left of your screen you will see a + sign, press this and scroll down to chose the Widgetsmith icon, then it will prompt you to choose from the small, medium or large widgets. Select the medium size, tap add a widget, tap the widget again whilst it's wobbling and then click choose. Select the newly created widget and slide it to the best place on your home screen. Tap anywhere on the screen or done in the top right corner.
Step 4: Creating a widget using Color Widget
If you've done step 3, step 4 is now easy peasy.
Open Color Widget and click on a widget which has the aesthetic you like best as the starting point (don't worry, you can change it later). Tap edit widget you have the option to change the font/colour and add an image. If you add a picture, you can import from your camera roll, and the chosen photo will be behind the clock.
Note: This App also offers paid premade designs Please chose the options that best suits you. (I am not affiliated/paid or sponsored, just wanted to note the different options available on the App)
Note: This App also offers paid premade designs Please chose the options that best suits you. (I am not affiliated/paid or sponsored, just wanted to note the different options available on the App)
Once you have chosen all of the widgets you want, you can play around, and
by sliding the widget around, you can place them into the formation that
best suits your needs or theme.
Step 5: Finishing it off with Shortcut app
Now how can you customise your standard app front covers to match with your
new beautiful widget? The answer is in the polarising app Shortcut. As
mentioned above, this App is a lot more powerful than what we will be using
it for it's almost a 'macro' to use with other apps, but that's not
something we'll go through now as this was using this for Aesthetic purposes
here.
Again search Pinterest, Instagram or Google Images to find Icons for your
home screen, e.g. A camera Icon for your Camera App - Its best to stick to
individual images or if not best to crop each image to be a stand-alone
icon.
Using this App is a little more challenging than the others, so I'll go
through step-by-step here,
We will be using this App to amend the icon of the original App effectively
but without actually doing it; we will just be creating our icon that will
act as a path to opening the actual App that's sitting in our App
library.
OK, deep breath, this can be a little tricky at first, but if I can do it, you can too!
Open Shortcut
Tap the plus in the top right
Tap add action
Tap scripting
Tap open App
Tap choose
Choose the App you want to open
Tap the three dots in the top right corner
Give the shortcut a name.
Tap add to the home screen.
Tap the smaller icon next to the name you gave
Select Choose photo
Choose the icon you want to use from your photos.
Align the icon to the centre or appropriate place
Tap choose
Tap Add
Done
Now go to your home screen, and you should see your icon! You can now move
this to a spot on your new home screen!
Don't forget to tap your new icon to make sure it works. You'll see
Shortcut app opens for a split second before the actual App itself opens,
unfortunately, that's necessary.
Now you have one icon ready, repeat these over and over until you have the apps ready.
Now you have one icon ready, repeat these over and over until you have the apps ready.


No comments
Post a Comment